Pet Carrier Dimensions: Outer Size vs Usable Space
Compare pet carrier outer size, interior space and openings. Use a measurement worksheet and focused photo requests when size listings are hard to compare.
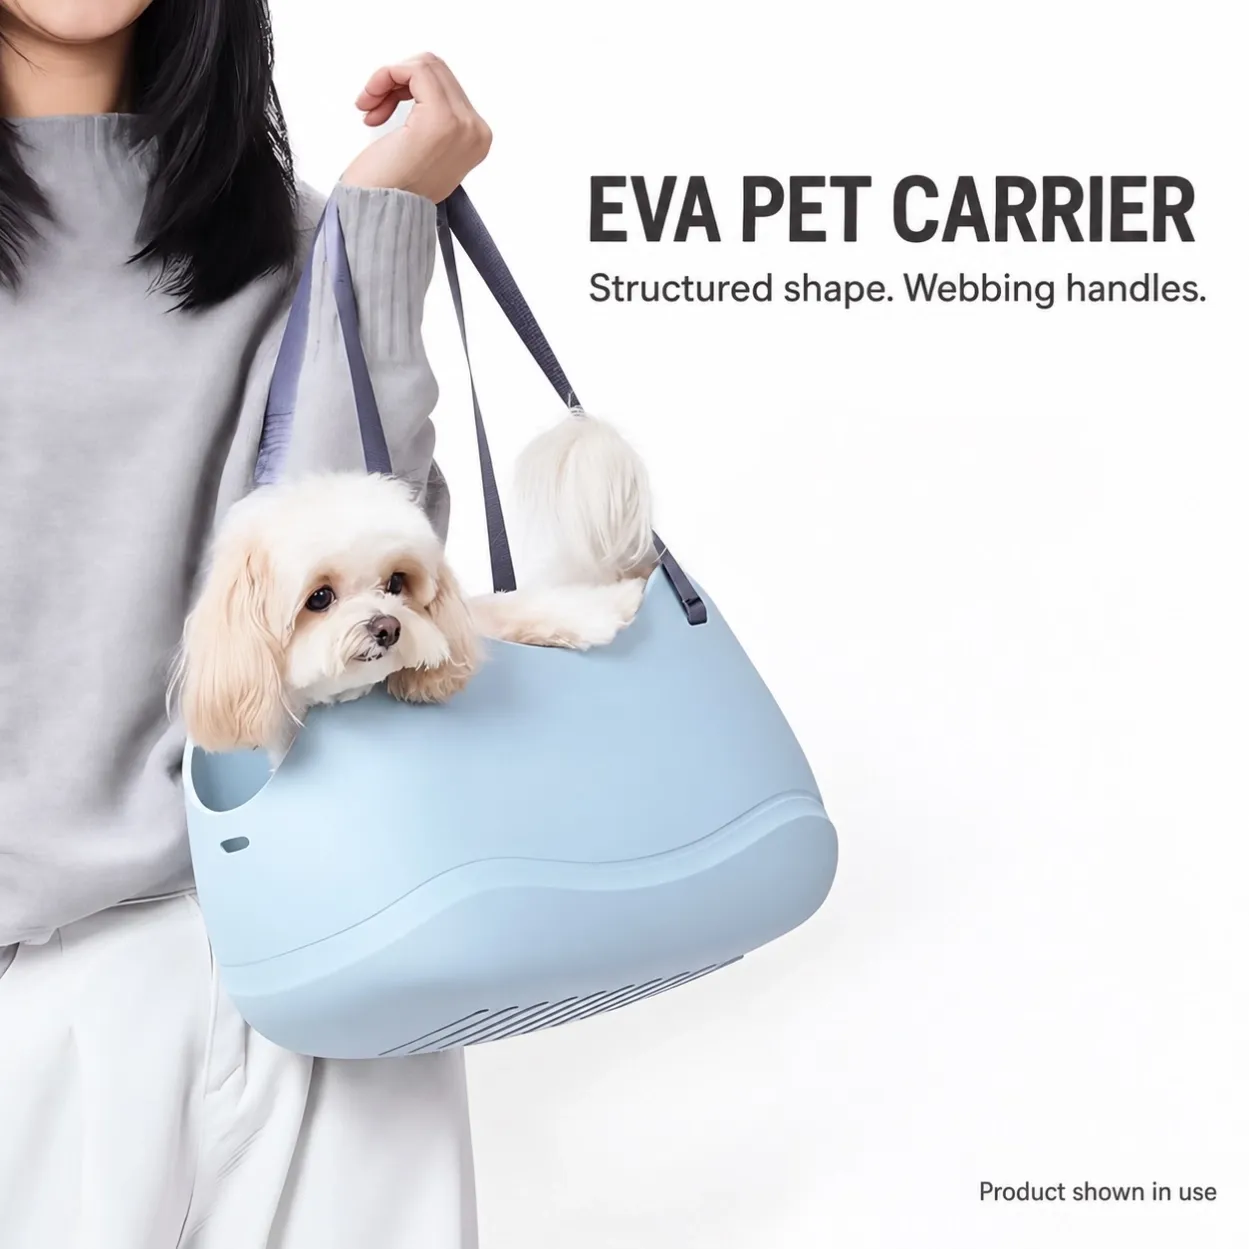
You have found two carriers you like. Both list a length, a width and a height. Before comparing those numbers, ask one small question: where did the tape measure go?
Along the outside of the shell? Across the floor inside? From the liner to the roof? The answer tells you what the number can actually help you compare.
Separate outside size, interior space and access
External dimensions tell you how much space the assembled carrier takes up. Internal measurements describe the clear space within the configuration you measured. Opening dimensions describe the access into that space.
Keep all three labels beside the numbers. A carrier can have enough room inside for a particular purpose while still leaving you with a separate question about its opening. One set of length, width and height figures cannot answer both questions.
The worksheet below helps you record the differences. It is an empty-carrier comparison method, not a pet-fitting assessment or an airline acceptance check.
Set up the empty carrier first
Assemble the empty carrier according to its instructions. Fit the base, liner and cover normally supplied for the configuration you are comparing. Record any component that is not included or does not apply.
Set any expandable section to a named position, such as closed or fully open. Use the normal assembled shape without squeezing the shell or stretching the mesh. Take a setup photo and keep the base, liner and expansion setting consistent. Record the door or cover position separately for each measurement; measuring the opening will require a different position from recording the closed outside envelope.
This is a suggested method for comparing sample dimensions, not an industry test standard. If the supplier has model-specific measurement instructions, keep those with the record and note any differences.
Use an empty carrier for this worksheet. Any loaded structural assessment belongs in a separate, agreed review with its own conditions and results.
Mark what length, width and height mean
Place the carrier in its normal upright position and mark L, W and H on a photo. As a working convention, you can use the longer base direction as L, the shorter base direction as W, and the upright direction as H. If the model’s drawing uses a different convention, retain that convention and label it clearly.
Use the same orientation on the outside and inside photos. A backpack-style carrier and a horizontally carried bag can otherwise end up with different meanings attached to the same three letters.
Use a ruler or tape that is easy to read. Record the unit and the precision you can reasonably read. Repeat a measurement if the result is unclear, and note any variation caused by a flexible surface. Extra decimal places from a calculator will not improve a rough measurement.
External dimensions describe the outside envelope
Measure the assembled carrier’s overall extent along each labeled axis. Note whether handles, feet, fittings or other projecting parts are included, and identify any flexible part that changes the measurement.
Record the widest points you used. If the usual product drawing excludes a handle, keep that drawing’s measurement and add a separate note describing the projection. This lets someone reading your record understand both numbers without guessing.
Use the normal closed door or cover position for the external record, unless the model drawing specifies another setup. For a rounded carrier, photograph the measurement points so someone else can repeat the measurement.
Internal space needs more than one location
Measure between the inside surfaces with the usual base and liner fitted. Open the door or cover only as needed for access, note its position, and keep the body in its normal assembled shape. If opening the cover changes that shape, record the limitation rather than reporting the measurement as the closed interior clearance.
Start with the clear floor length and width. Then look at whether the walls taper or the roof curves inward. If they do, record another width or height at a clearly identified location. A width at the floor and a width near the top describe different parts of the space.
For height, state where the ruler starts and ends—for example, from the top surface of the fitted liner to the inner roof at the center. Note any component that obstructs that space.
Do not subtract an assumed wall thickness from the outside dimensions to produce an “internal size.” Measure the interior directly, or leave the value unconfirmed. Likewise, multiplying three spans of a curved interior does not establish its actual usable volume.
Internal measurements help describe the carrier. They do not, by themselves, establish suitability for a particular pet.
Measure the access opening separately
Fully open the door or zip in the intended manner. Photograph the clear opening and record its width and height at the locations shown.
If a flap, hinge or curved edge narrows the opening, show where that happens. There is no need to force an irregular opening into a perfect rectangle: a labeled photo and a few identified spans are more informative.
Keep the opening dimensions separate from the internal space. They describe access to the carrier, rather than the full space inside it.
Take a closer look at the base
Note whether the sample has a rigid insert, a shaped bottom, a cushion or another base component. Identify which are removable under the product instructions, and keep those components consistent between samples.
A flexible side panel does not tell you whether the base can change shape. Avoid compressing a carrier to obtain a preferred outside measurement. If you want to investigate how the whole structure behaves during carrying, agree on a separate method with the supplier.
For questions about shell structure and base support, continue with the shell and bottom-support guide; keep any loaded assessment separate from this empty-carrier measurement record.
Copy this sample comparison record
Copy the blank worksheet. Write “not measured” for a measurement you have not taken, and “unconfirmed” for a supplier’s figure whose setup or measurement points you still need to verify. Use “not applicable” only when a component or feature genuinely does not apply. The table contains no product results supplied by LekeeCare.
Record | Sample A | Sample B |
|---|---|---|
Model, sample version and measurement date |
|
|
Person measuring, tool, units and recording precision |
|
|
Upright setup photo with L, W and H marked |
|
|
Base and liner fitted; expansion setting |
|
|
External L × W × H |
|
|
External measurement points, included projections and door/cover position |
|
|
Internal floor length and width; photo reference |
|
|
Additional internal width and location measured |
|
|
Internal height, start/end points and door/cover position |
|
|
Access-opening spans, door/cover position and photo reference |
|
|
Base components and any removable parts |
|
|
Supplier’s stated size and measurement convention |
|
|
Differences, uncertainties and questions to confirm |
|
|
For North American product information, include both centimeters and inches where useful:
Inches = centimeters ÷ 2.54.
For example, a 44 cm measurement converts to approximately 17.3 in when rounded to one decimal place. This is a conversion example, not an internal measurement of a LekeeCare model. Keep the original measured value and unit in your record.
Ask for the photo that resolves your question
You do not always need a complete new size chart. Sometimes you need one photo with a ruler in the right place.
Before contacting the supplier, identify which part of the listing you cannot interpret:
What is unclear? | Ask the supplier to show | Keep this note with the answer |
|---|---|---|
Two listings use L, W and H differently | One upright photo with the three directions marked | Which convention belongs to each drawing |
The listed width may describe the outside | Separate outside and inside measurement photos | The measurement points, rather than just the word “width” |
A liner or base insert appears in only one photo | The interior with the quoted components fitted | Exact component configuration and sample version |
The cover must be opened to reach the interior | The cover position used and whether it changes the body shape | Any limit on interpreting that measurement as closed interior clearance |
The door looks narrower than the inside space | The clear opening, with the door or flap in its intended open position | The specific spans measured if the outline is irregular |
You can send a focused message:
Could you show the measurement points for [the unclear dimension] on this exact model? Please identify the sample version, fitted base or liner, and door or cover position. If that dimension cannot be confirmed in this setup, please leave it unconfirmed and explain what can be measured.
For example, an interior height taken with a cover lifted away should not silently become the height of the closed space. Ask for the appropriate configuration-specific measurement or drawing. If it is still unavailable, keep it unconfirmed in your comparison.
Keep the answer with its drawing or photograph so the next person can interpret the same measurement.
Turn the record into a clearer size listing
Once the measurements have been checked, keep the original record and photos with the sample specification. Then label the customer-facing figures separately.
Here is wording you can adapt after filling in the measured values:
External dimensions: [L × W × H and units], measured with [door/cover position], including [projections included].
Interior clear space: floor [length × width and units], with [base and liner configuration]. Interior height [value and units], measured between [identified points], with the door or cover [position used]. Note [any change in shape or measurement limitation].
Access opening: [identified clear spans and units], with [door or flap position]. See [measurement photo reference] for an irregular opening.
Remove a line you cannot support with a measurement; do not fill it by subtracting a guessed wall thickness. If the model has a shaped interior, avoid presenting those spans as the volume of a perfect rectangular box.
Keep a weight-capacity statement separate from this size record. These measurements alone do not establish that a particular pet will fit, or that an airline or other operator will accept the carrier.
For a brand sourcing an EVA carrier, keep a separate record for each quoted accessory configuration. For example, if you compare a compatible optional liner with the standard arrangement, measure and label both setups rather than carrying one internal measurement over to the other. Use those records alongside the model and accessory list when discussing a sample. You can view the LekeeCare EVA pet carrier collection or use the pet carrier sourcing guide to prepare the wider purchase discussion.
Prepared by LekeeCare, an OEM/ODM pet product supplier. The worksheet is blank and contains no measured product results or comparative rankings. You are welcome to copy it for your own sample comparison.